| Whilst it is entirely possible to run IBrowse² on a screen of 256 (8 bit) colours or less, the number of individual colours (or pens) made available to IBrowse² for displaying images will depend on other factors such as any other images used on the screen, e.g. the Navigation Toolbar images.In order to get the best out of the World Wide Web and IBrowse², it is therefore recommended that it is displayed on a high (15/16 bit) or true (24/32 bit) colour screen. This eliminates the pen problem and avoids the need for image dithering, a process that tries to give the impression of extra colours by inter-dispersing similar colours to simulate one that is not available in the palette. By default, IBrowse² will open on your Workbench screen, which can be a disadvantage for two reasons: firstly you may run Workbench in fewer colours than you would like for IBrowse² to be displayed in, and secondly you may want to actually use Workbench while IBrowse² is running without reducing the windows size or constantly iconifying and uniconifying IBrowse².One of the features of AmigaOS® is the ability to run screens in different depths, therefore allowing Workbench to be running in fewer colours than you would perhaps require for IBrowse². As IBrowse² uses MUI, it is capable of opening on any public screen, or you can define a custom one for IBrowse² to use. |
The following procedure will show you how to set up a custom screen for IBrowse² to open on each time it is launched:
- Launch IBrowse² as normal.
- Open the MUI Preferences via Menus » Preferences » MUI....
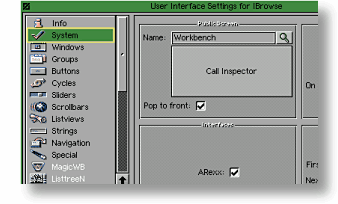
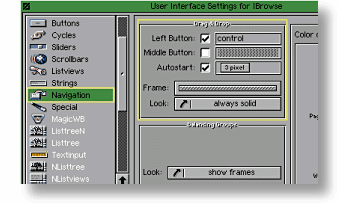
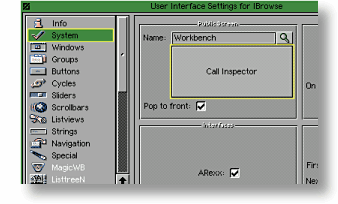
- When the MUI Preferences opens, click on System in the list on the left of the window, and a new set of options will open in the right hand side.
- In the Public Screen section, click on the Call Inspector button.
|
 |
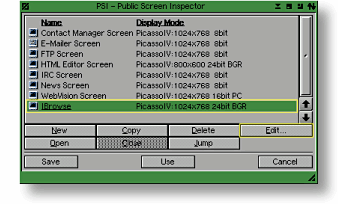
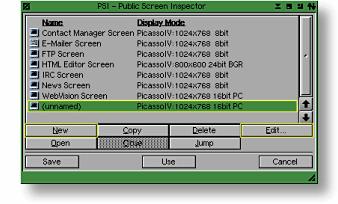
A new window called PSI - Public Screen Inspector will now open, and should be used as follows:
- Click on the New button, and a new screen titled (unnamed) will appear in the list.
- (unnamed) will be automatically selected, so you can now click on the Edit button.
|
 |
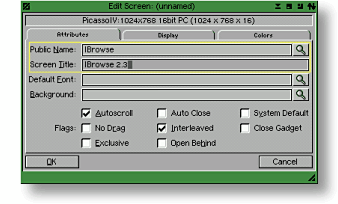
When the Edit Screen: (unnamed) window opens, configure the Attributes for the new screen as follows:
- Public Name: IBrowse
- Screen Title: IBrowse 2.3
- You can leave the rest of the settings at their default values.
|
 |
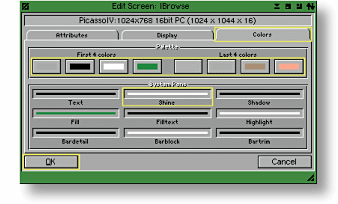
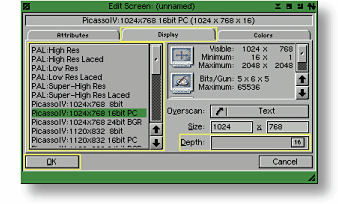
Click on the Display tab at the top of the window, and configure the new screen as follows:
- Screen Mode: Select a screen mode of your choice.
- Depth: Position the slider to your required screen depth (8/15/16/24/32 are recommended).
- You can leave the rest of the settings at their default values.
- Click on the OK button, and the Edit Screen window will close, returning you to the PSI window.
|
 |
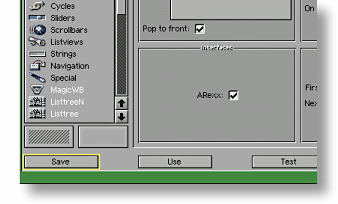
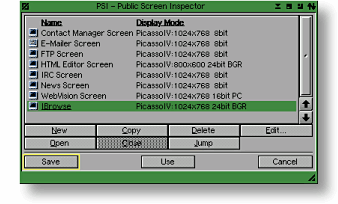
To accept your changes, proceed as follows:
- Click on the Save button, and the new screen will be saved.
- The PSI window will close, and you will be returned to the MUI Preferences.
|
 |
Finally, select the newly created screen as follows:
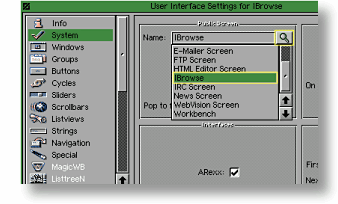
- In the Public Screen section, click on the drop-down menu gadget.
- A list of all the screens defined in PSI will be shown. Scroll through the list if required, and select the IBrowse screen you created previously with a double click.
- The name of the new screen will appear in the Name: gadget.
- Click on the Save button if you wish to make the change permenent, or Use if you wish to try your new screen just for this session.
- The MUI Preferences and IBrowse² will close momentarily while the new screen opens, then IBrowse² will re-open on the new screen as per your configuration.
|
 |
 |
For further information on the other options in PSI and/or MUI, please refer to the MUI documentation itself. |
|